For the detailed of lambda function, please visit the link: https://docs.aws.amazon.com/lambda/latest/dg/welcome.html
Step 1: Install the .NET CLI Templates for AWS
Please use the following command below to install:
dotnet new -i Amazon.Lambda.TemplatesStep 2: Install The AWS .NET Mock Lambda Test Tool
Please visit the page below for more information:
https://github.com/aws/aws-lambda-dotnet/blob/master/Tools/LambdaTestTool/README.md
Step 3: Create the first lambda via Visual Studio
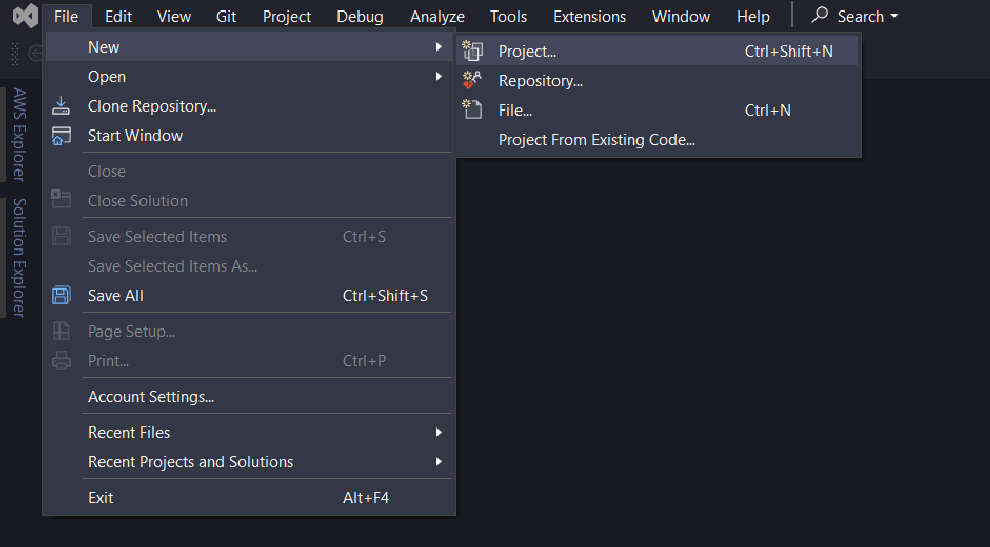
Step 3.1:
From the Visual Studio IDE select File => New => Project...
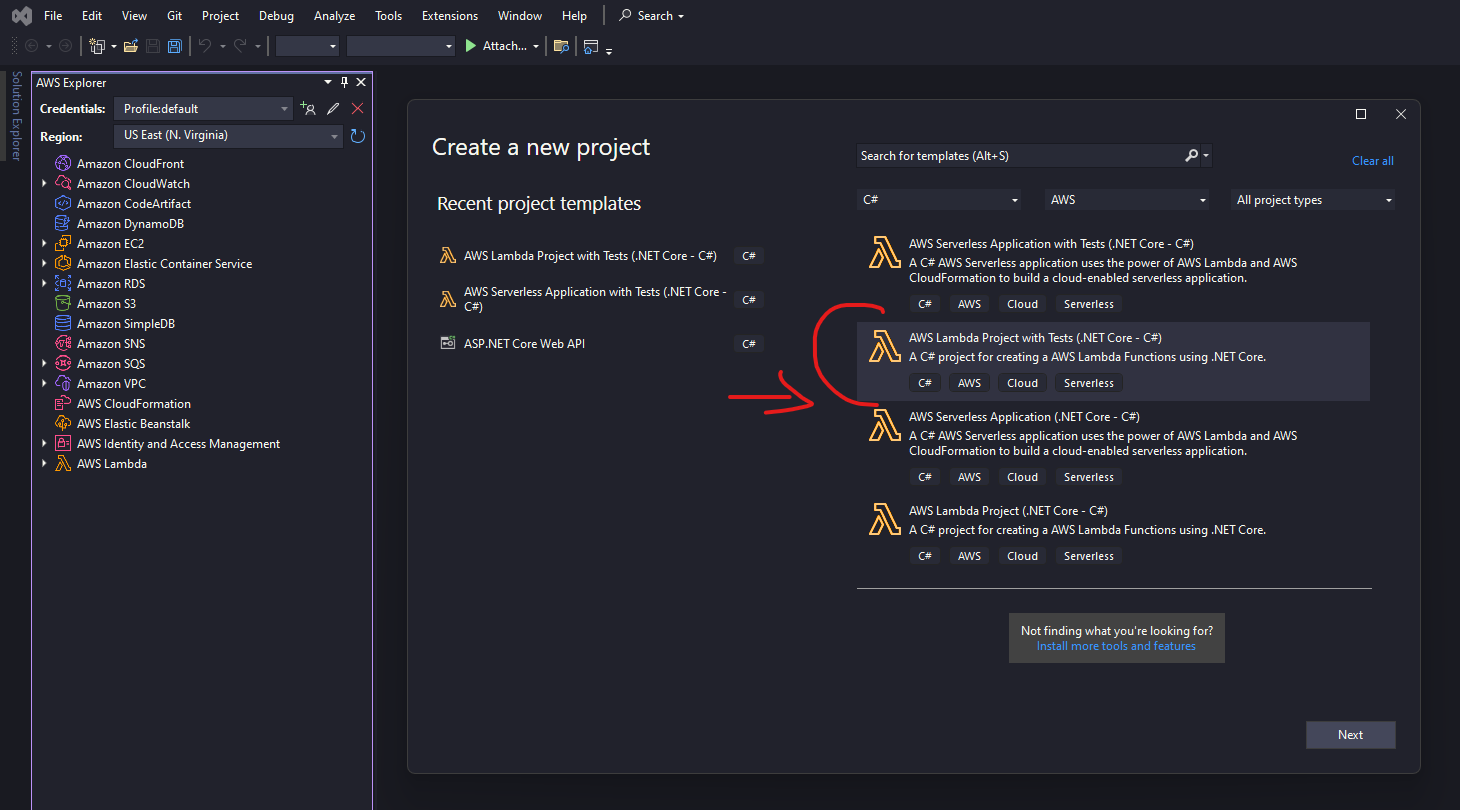
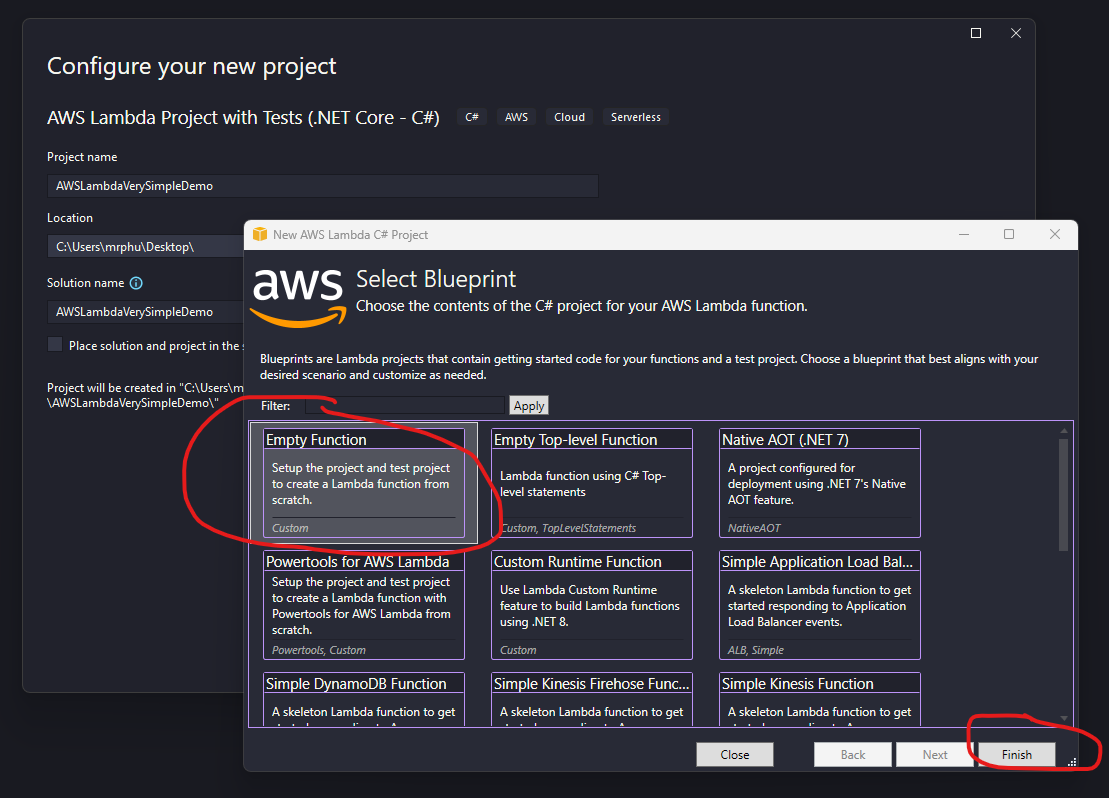
Step 3.2:
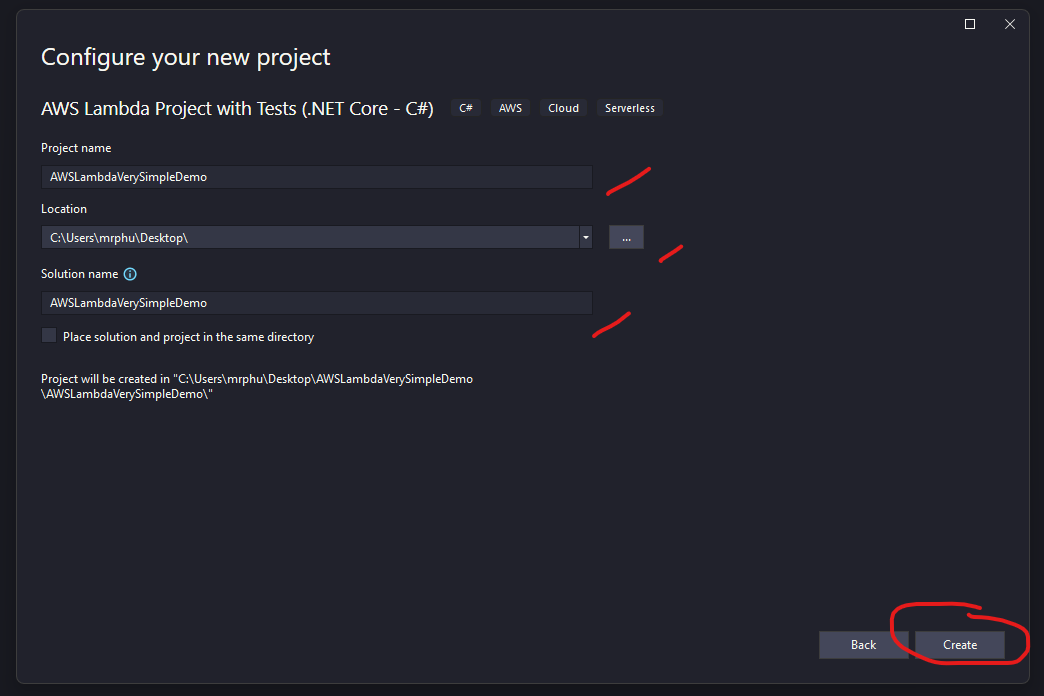
Step 3.3:
Step 3.4:
Step 3.5:
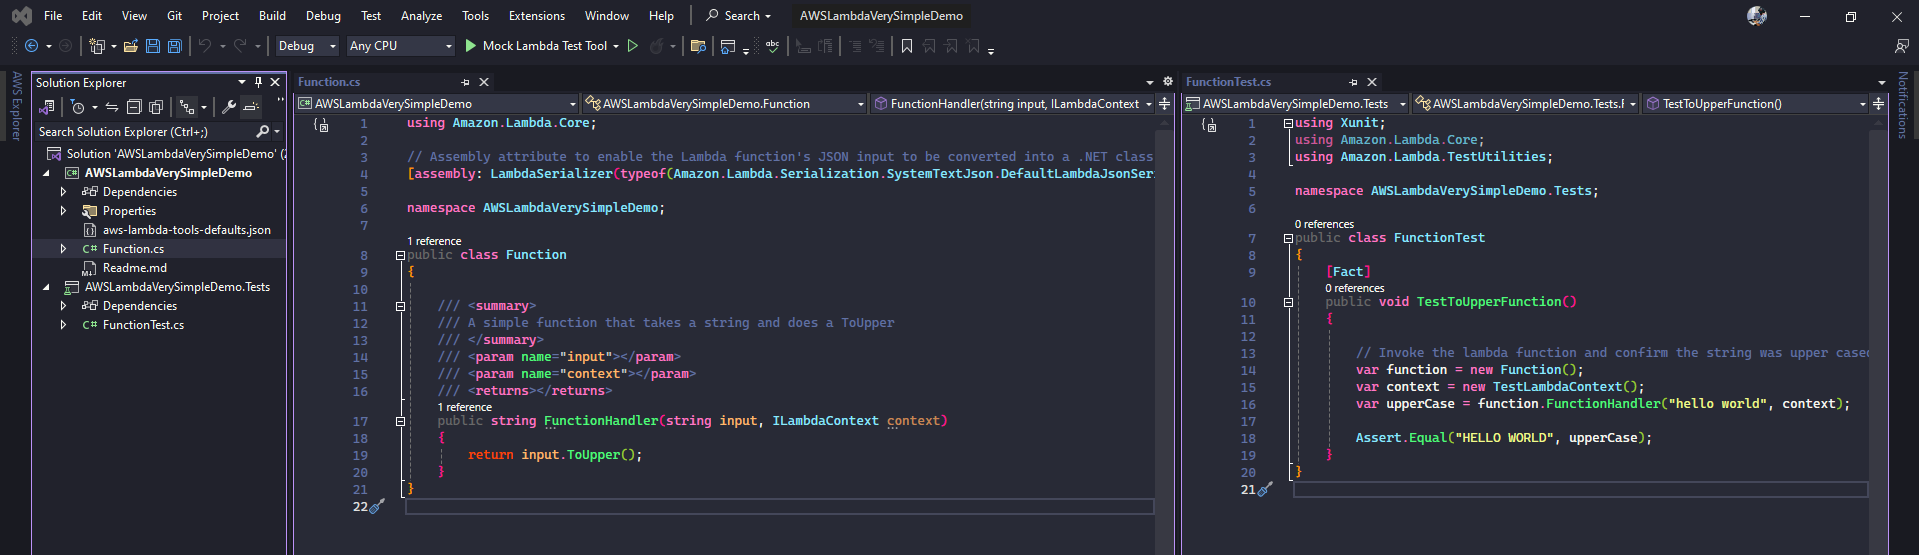
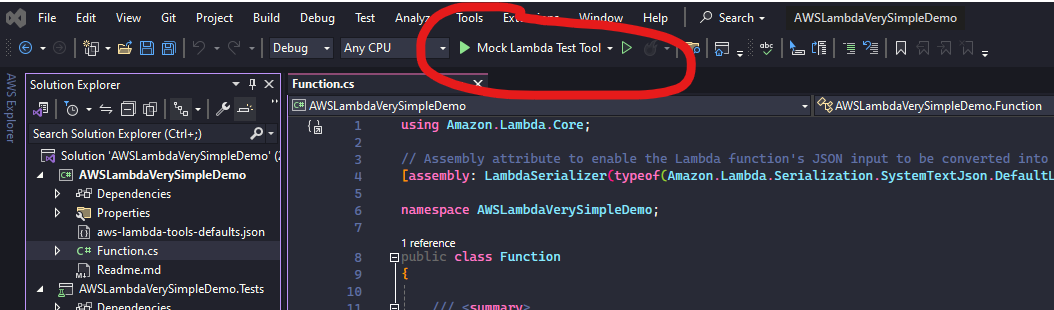
Step 3.6:
From the Visual Studio, select the Mock Lambda Test Tool to run and test the lambda.
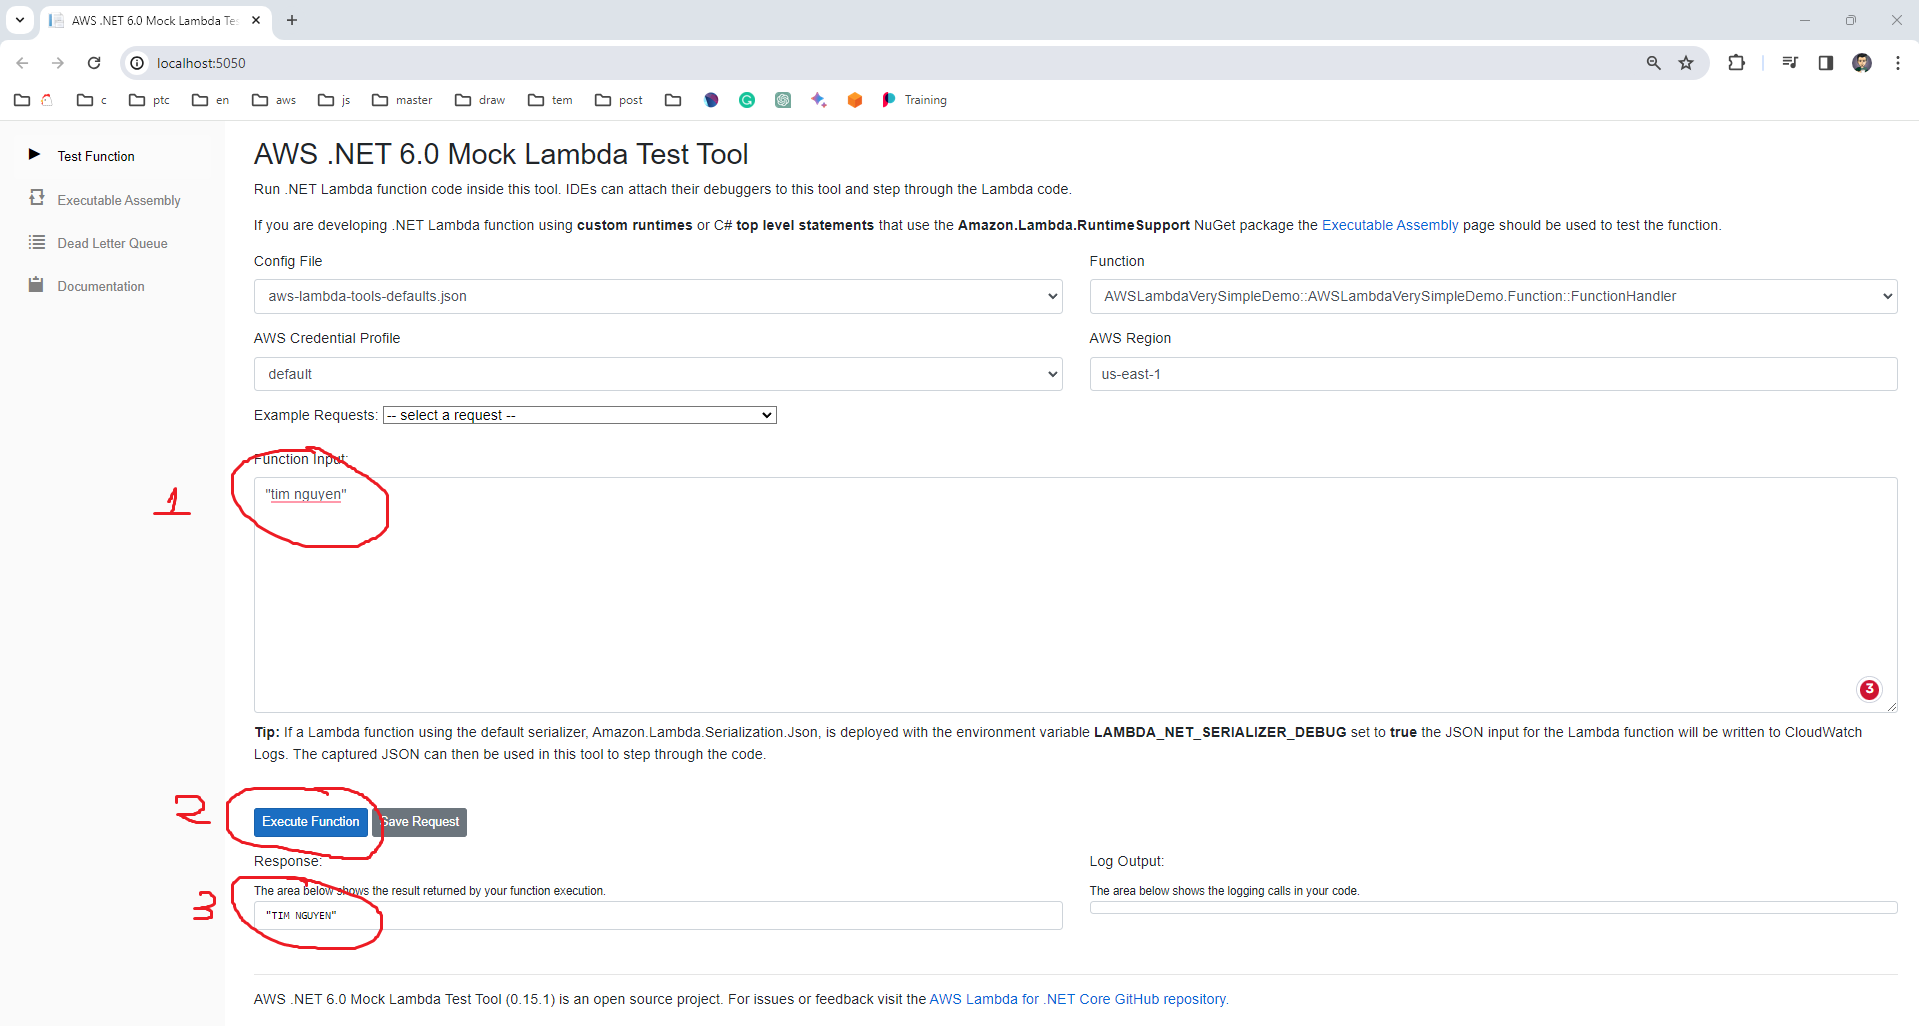
Step 3.7:
A new tab of your browser will open, from the screen input your text, hit the button Execute Function to see the result.
Step 4: Deploy your very first simple Lambda to AWS.
Before doing this step you have to make sure that, all the configurations from the Lab1 is done
Step 4.1:
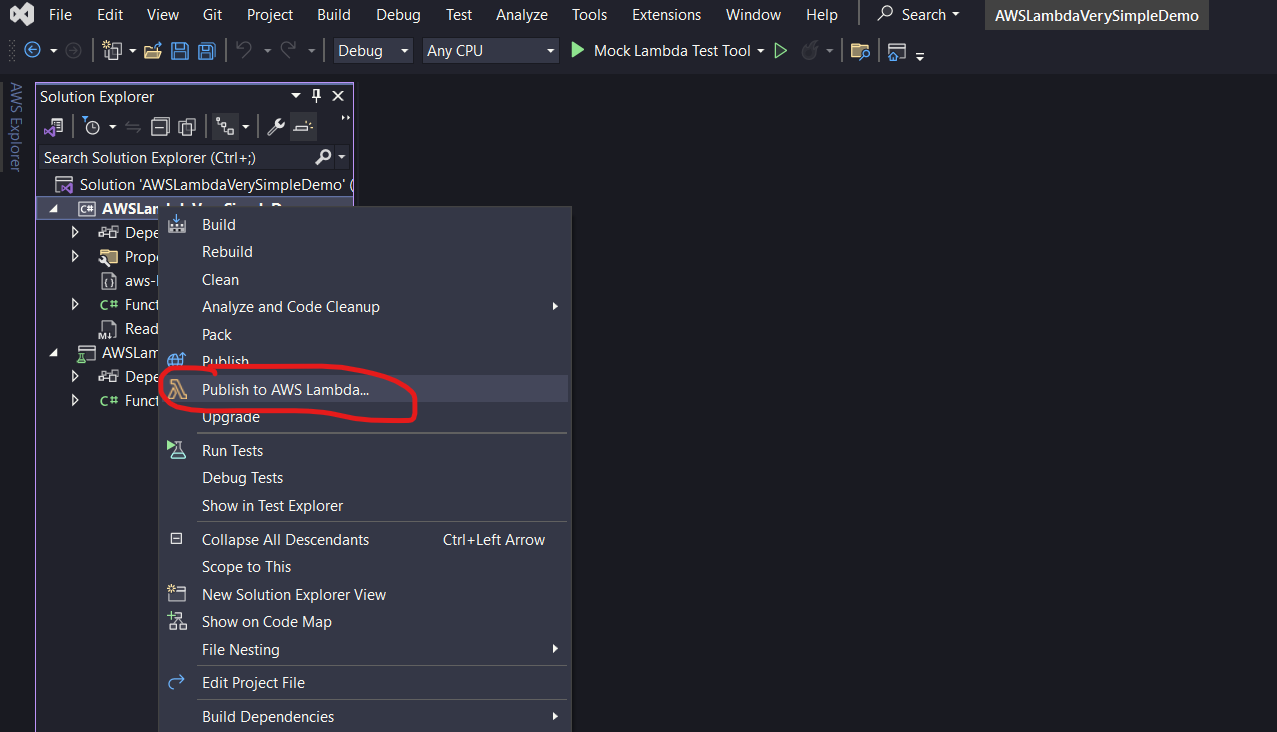
Step 4.2:
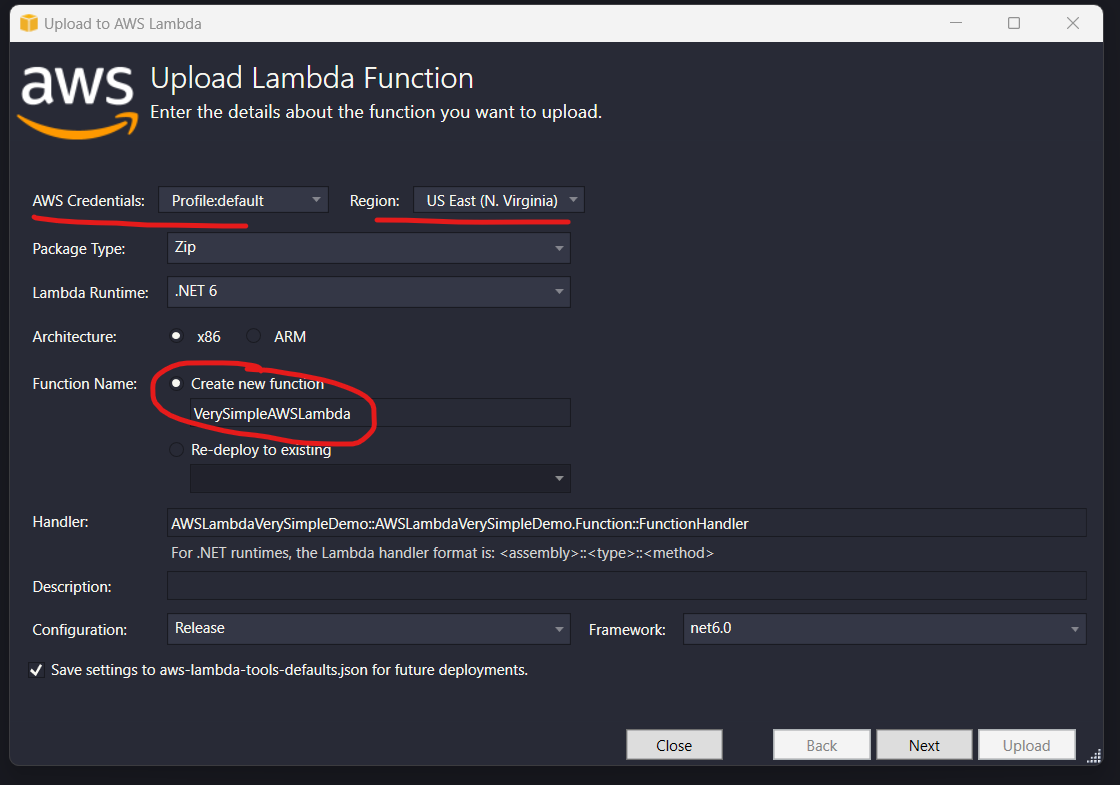
Select your:
- AWS Credentials:
AWS credential on your local machine - Region: The region which you want to deploy on the AWS
- Function Name: The name of the lambda function which you want to display.
Step 4.3:
- Role Name: The role you want to grant to your lambda function. In this case, select a default role created by AWS.
- Memory: The default memory capacity you want to assign to the lambda function.
- DLQ Resource: In case of failure, define if the message should be sent to the dead letter queue.
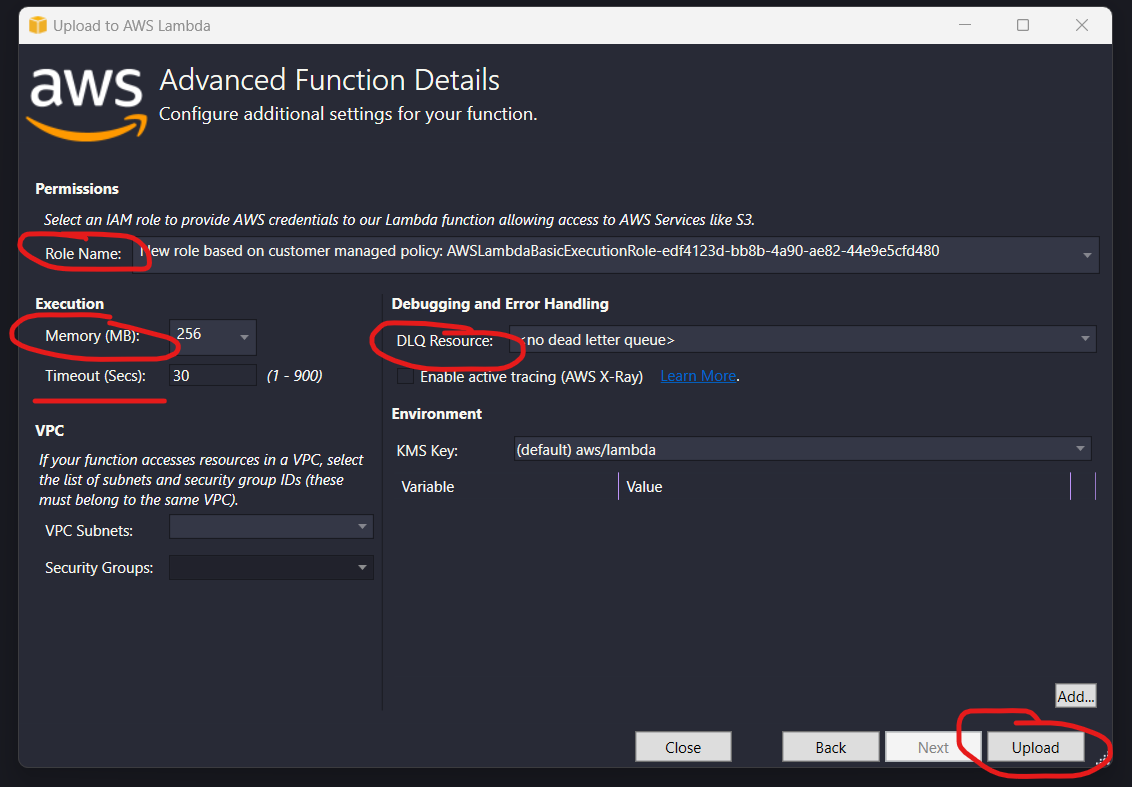
Step 4.4:
After the uploading is completed, a new screen will appear to help you test your lambda on AWS.
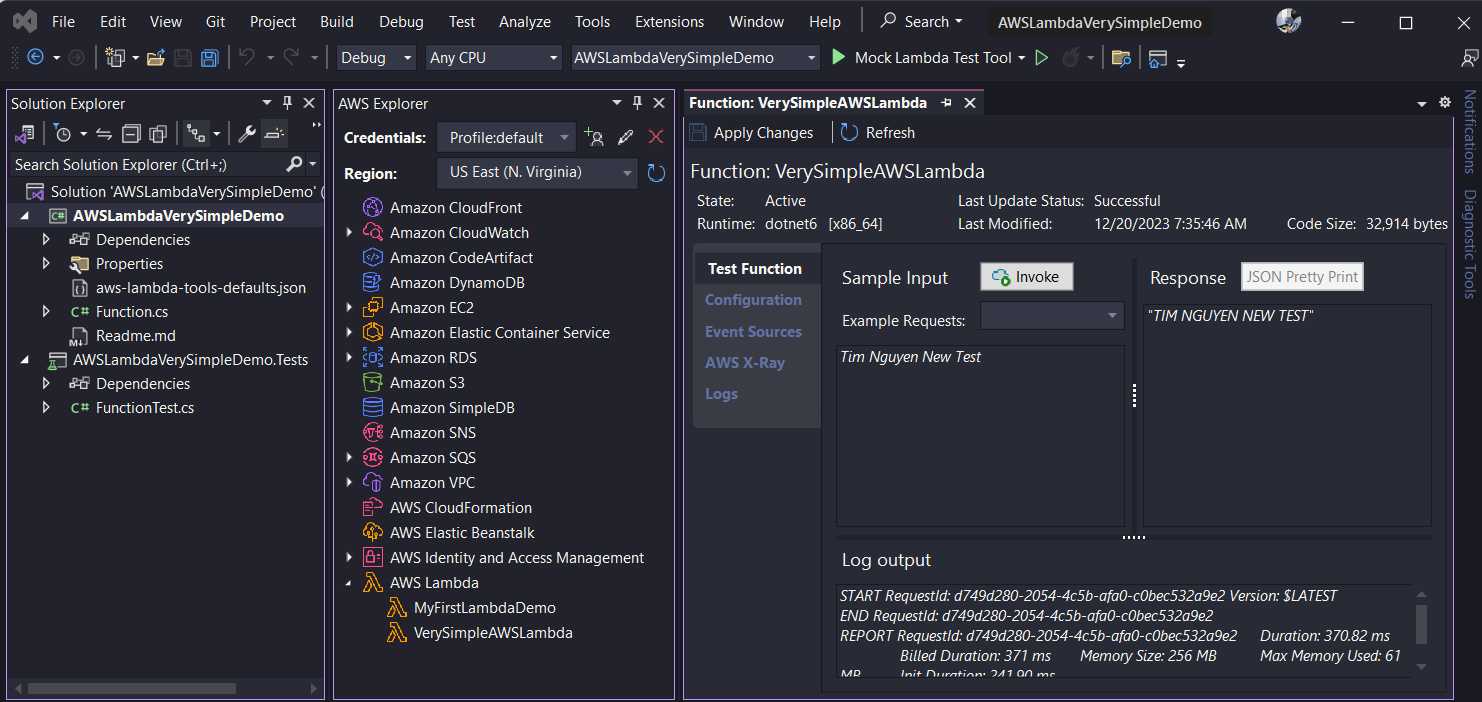
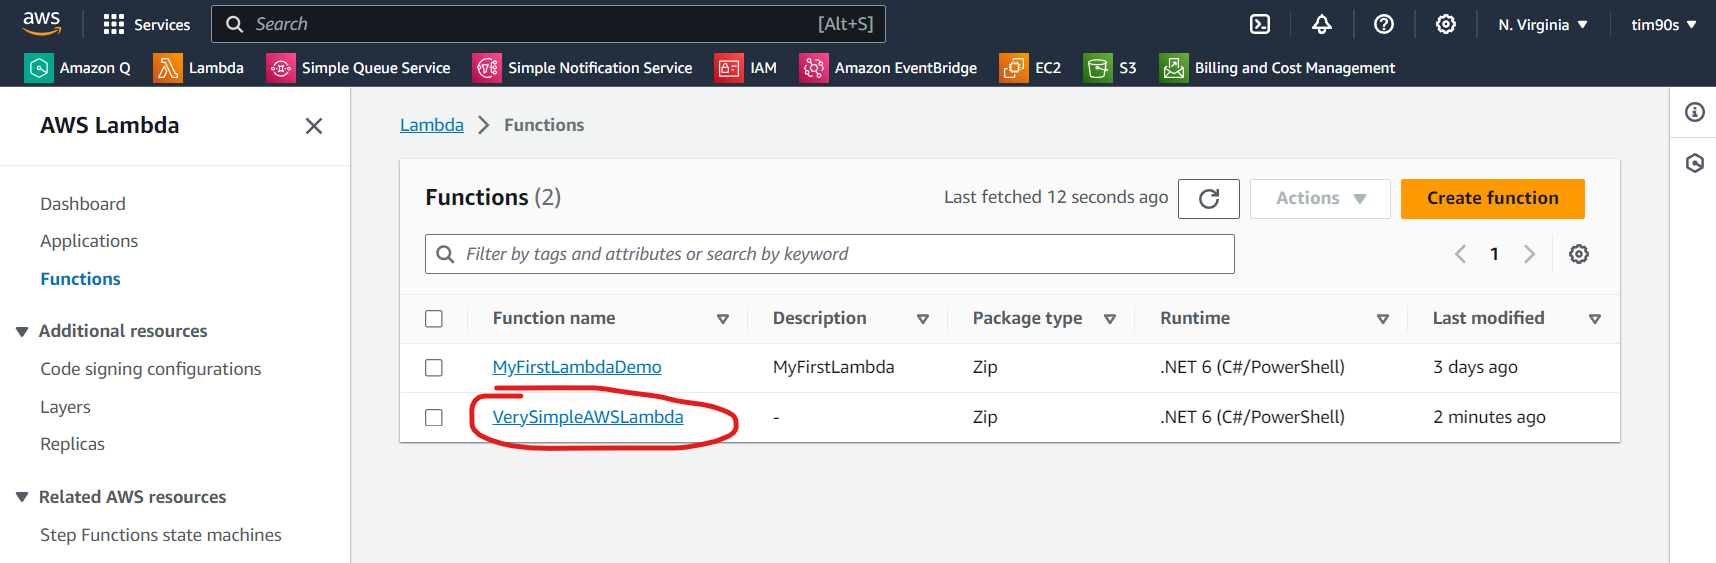
Step 4.5:
Go to the AWS Console, select the Region that you selected from Step 4.2 then navigate to the Lambda service to check your lambda function.