I. Overview
To know what Codespaces is, you can check the official introduction here:
👉 https://github.com/features/codespaces
II. Actions
Step 1
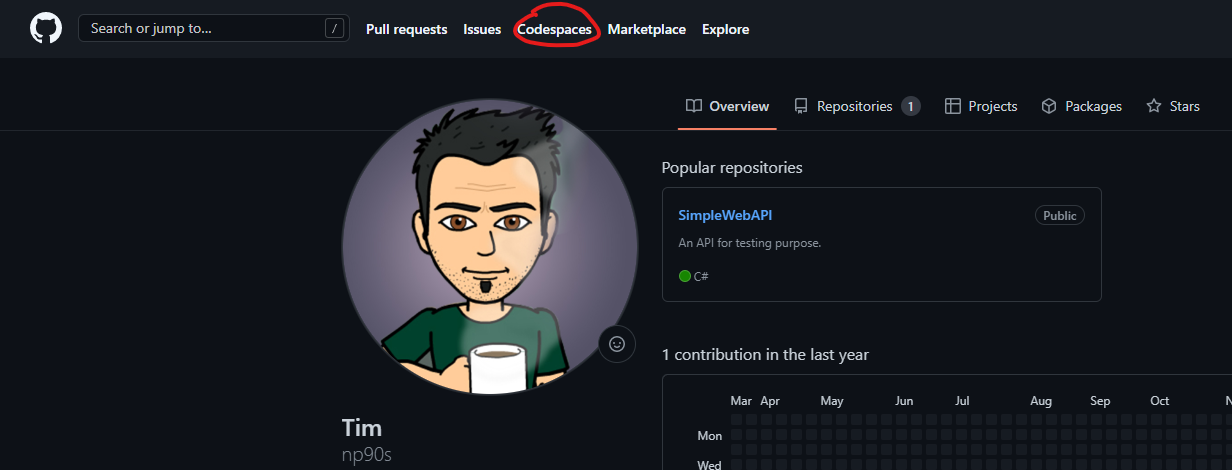
From the main page, navigate and select the Codespaces menu to access your codespaces.
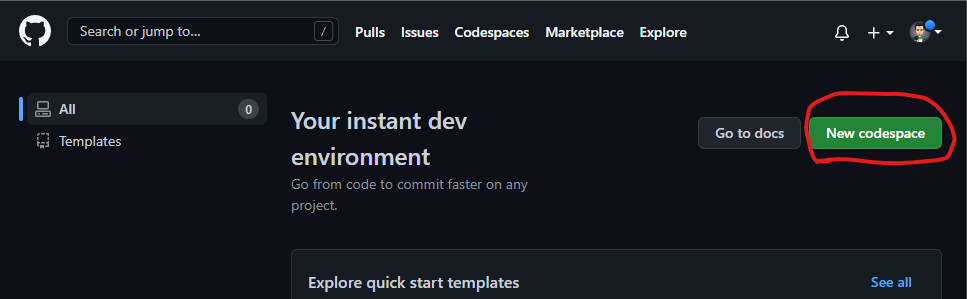
Step 2
In the new window, select the button New codespace.
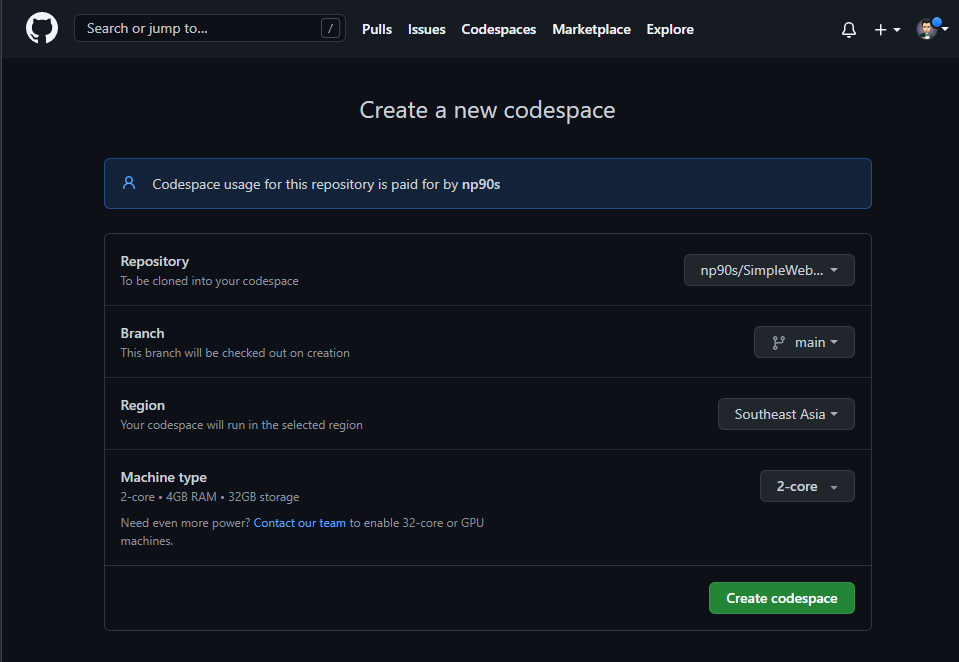
Step 3
Hit the button Create codespace with the following configurations:
- Repository – the existing repository on GitHub you want to work with.
- Branch – the branch of the repository you want to use.
- Region – choose the region where your codespace will run.
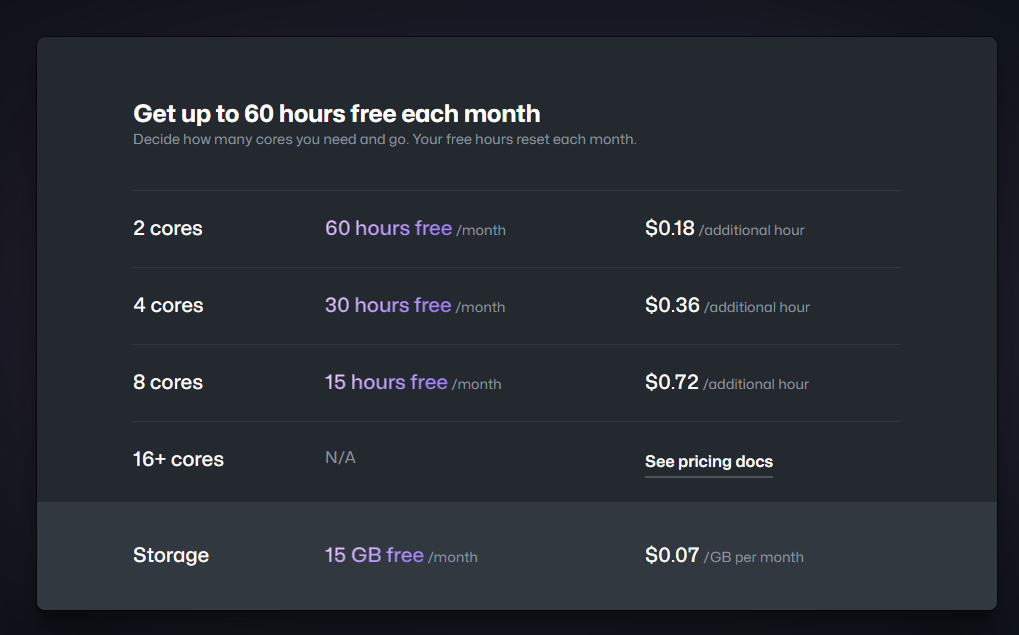
- Machine type – choose the machine configuration (remember: “more power, more money”).
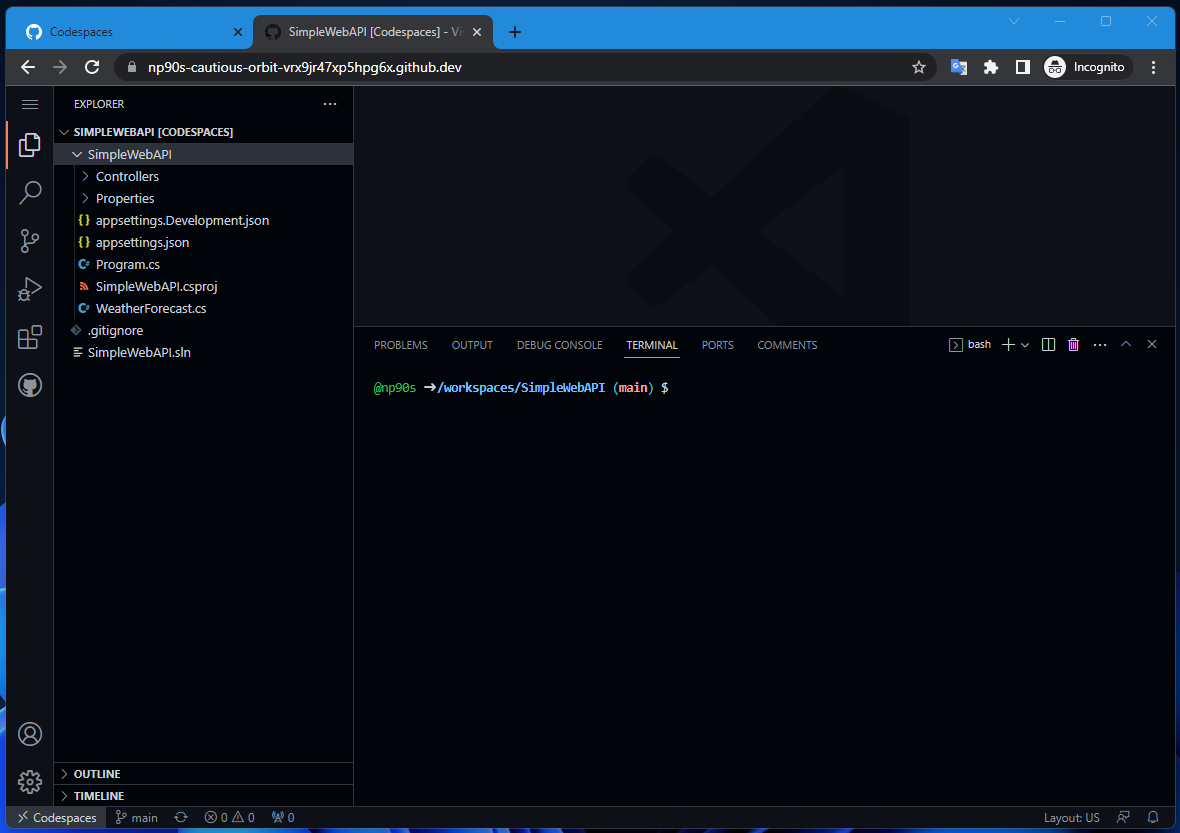
Step 4
After hitting Create codespace, you will be redirected to Visual Studio Code in the browser.
From here, you can do everything just like working on your local machine.
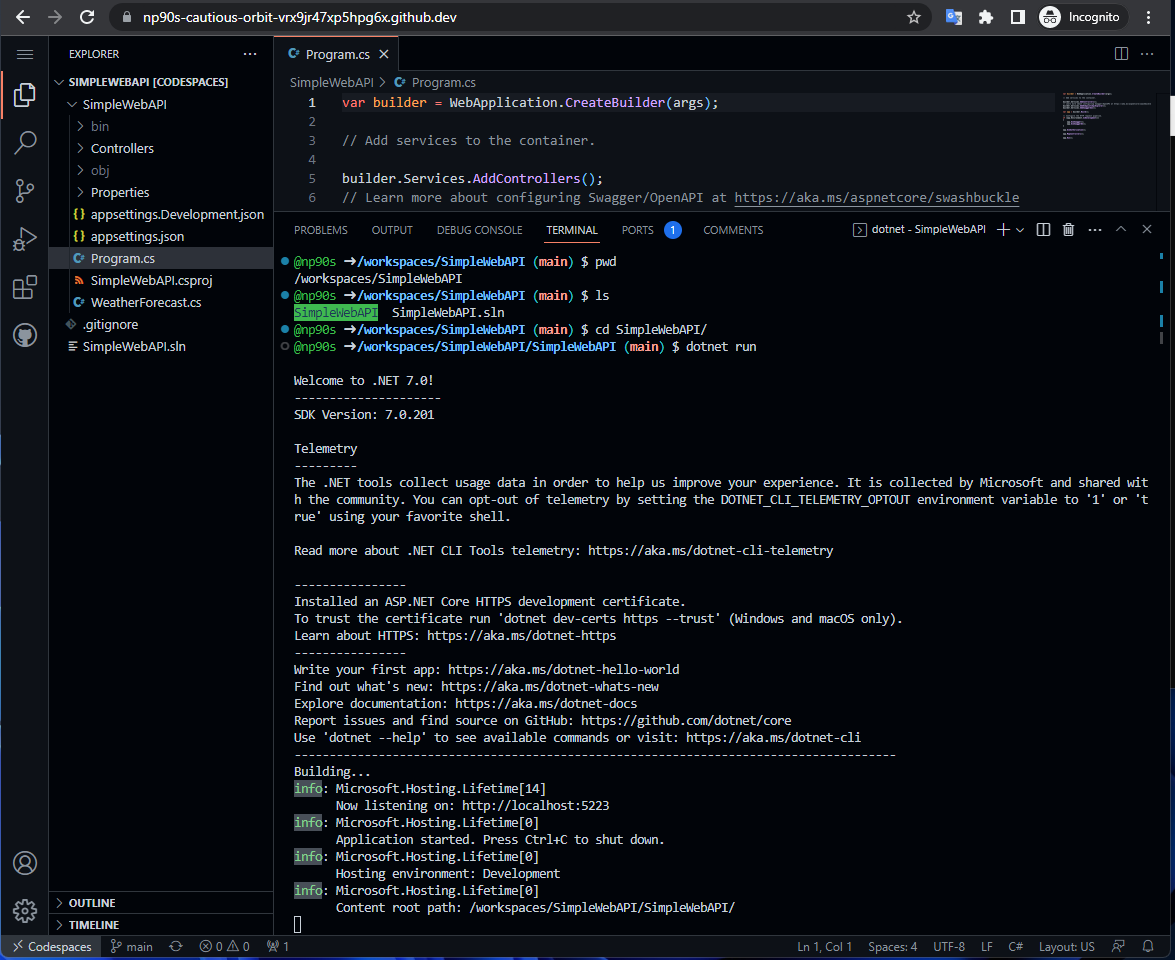
Step 5
Here’s an example demo.
In the terminal, after running the command:
dotnet run
It will generate a URL.
When you open localhost:5223, it will forward the port and open a new window (see next step).
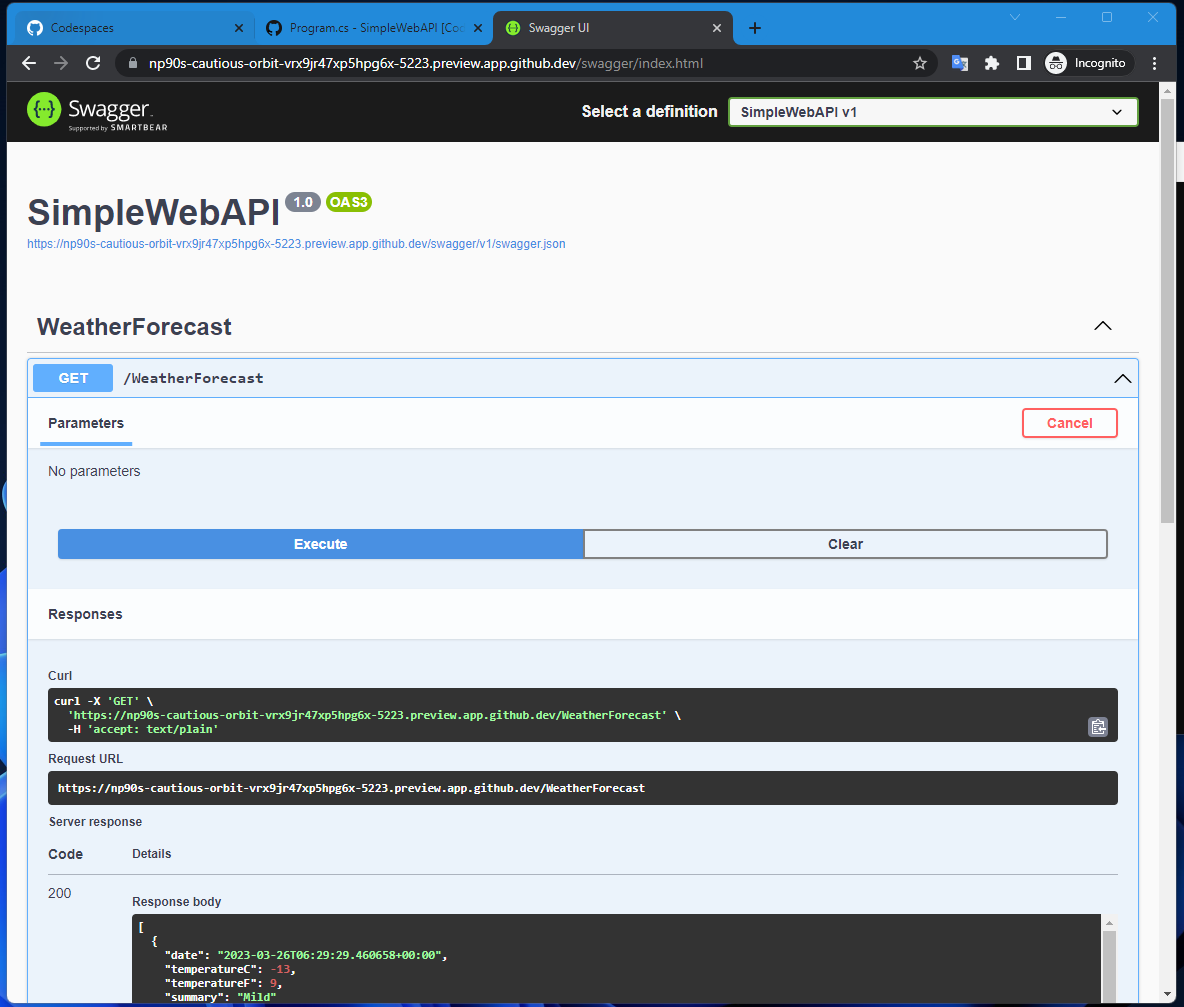
Step 6
When you access the URL generated in Step 5, you’ll be redirected to a new tab like this:
Step 7
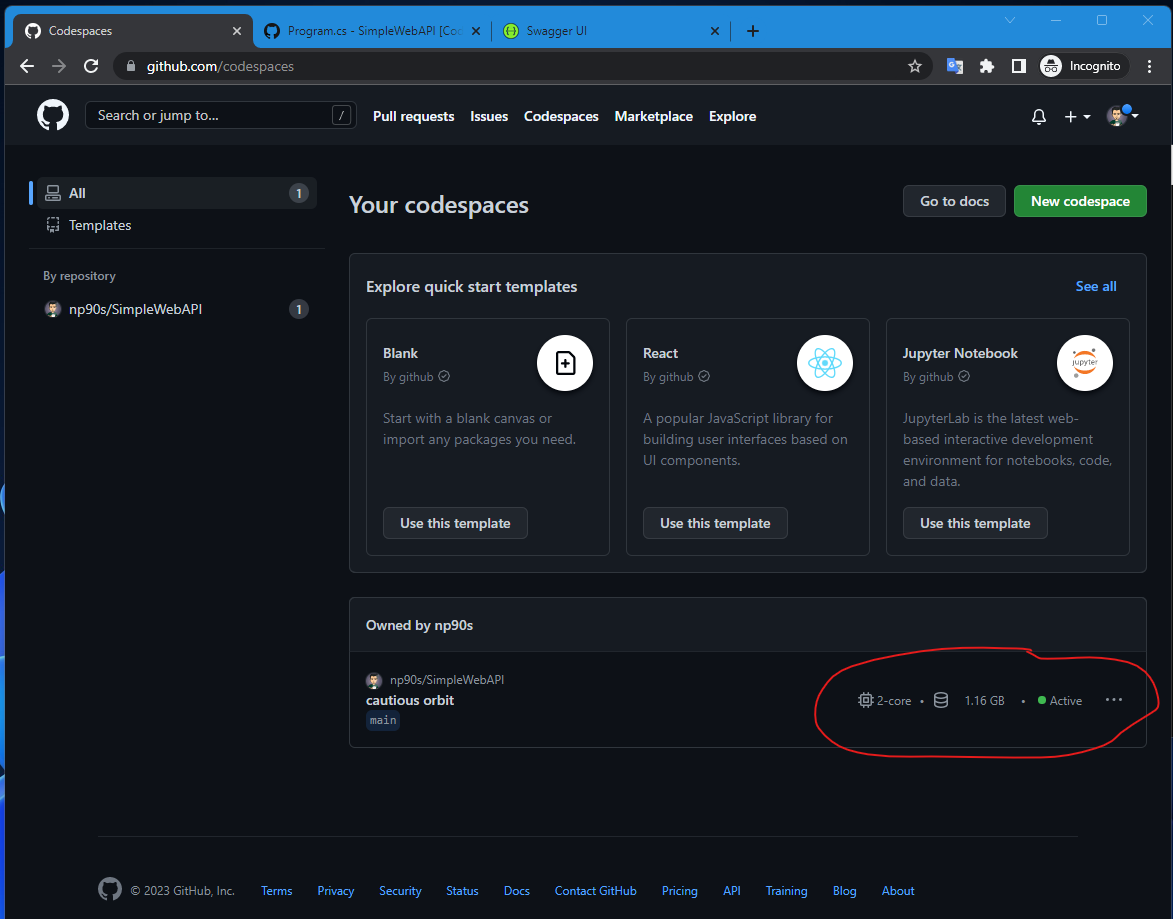
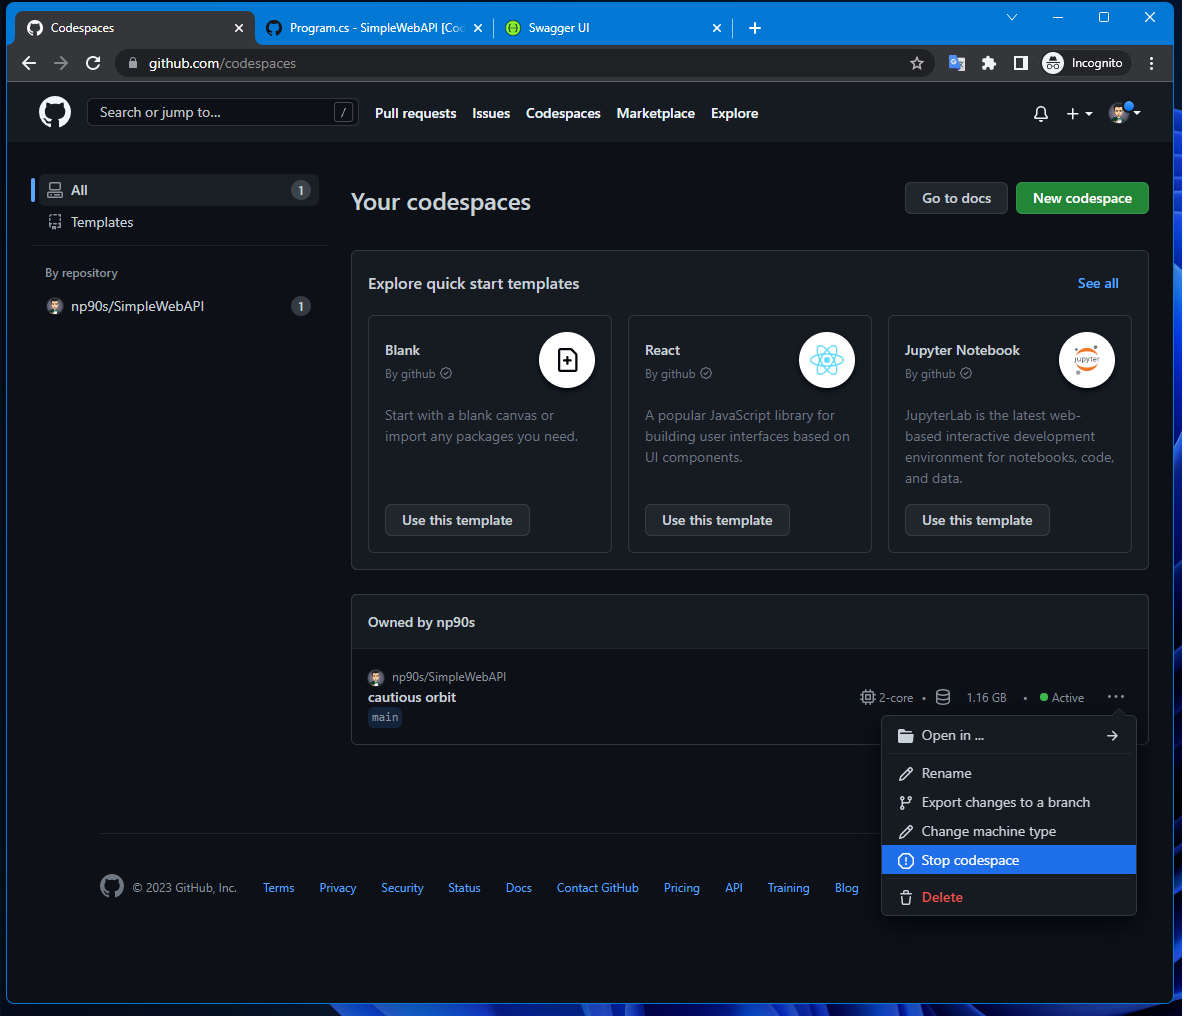
To manage your codespaces, you can see the options as shown below.
⚠️ Important: When you are not using a codespace, make sure to stop it to avoid unnecessary charges.