1. Introduction
If you are in the following cases, PlantUML will be the hero to rescue you:
- You have to face change requests from the client regularly, and each time you need to update the flow or diagram in your design.
- You want to keep track of all the changes to the flow/diagram by using a source version control such as Git or SVN.
- You want a tool to update your diagram quickly without spending too much time recreating it.
2. Installing and Setup PlantUML
2.1. Using PlantUML Online
If you want to use it quickly without any installation, just open a browser and visit:
👉 https://plantuml.com/
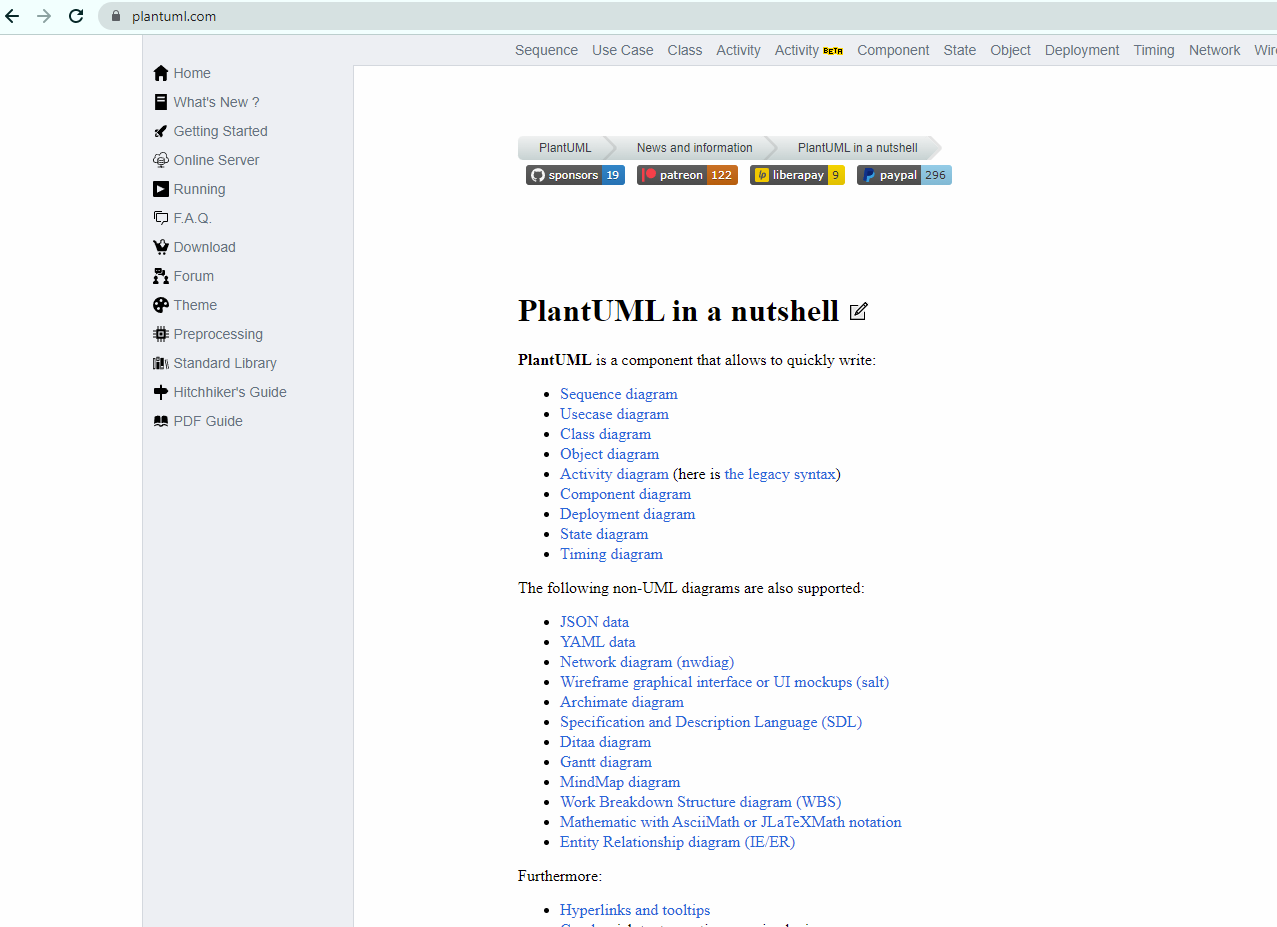
This official site includes:
- Documentation related to PlantUML syntax and many awesome features.
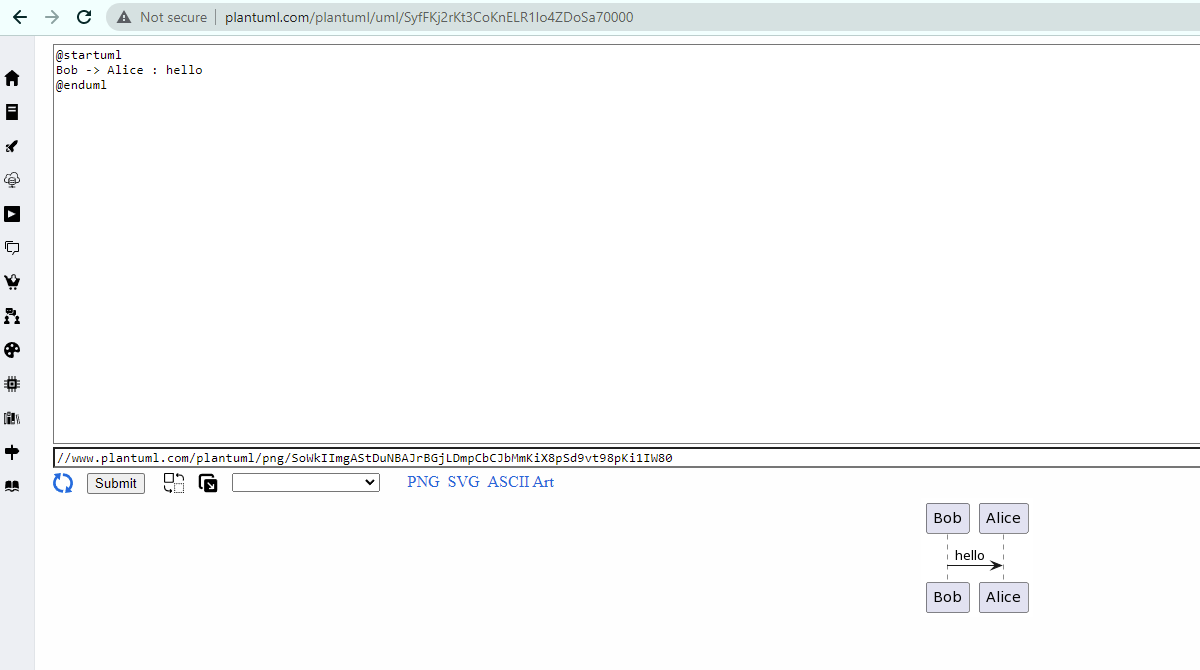
- An online editor to create, export, and share diagrams via link or file.
You can go directly to the online editor via this link:
2.2. Using PlantUML in Visual Studio Code
Step 1: Install the Java Runtime on your local machine to run PlantUML.
👉 Download Java Runtime
Step 2: In Visual Studio Code, navigate to Extensions, search for plantuml, and install it:
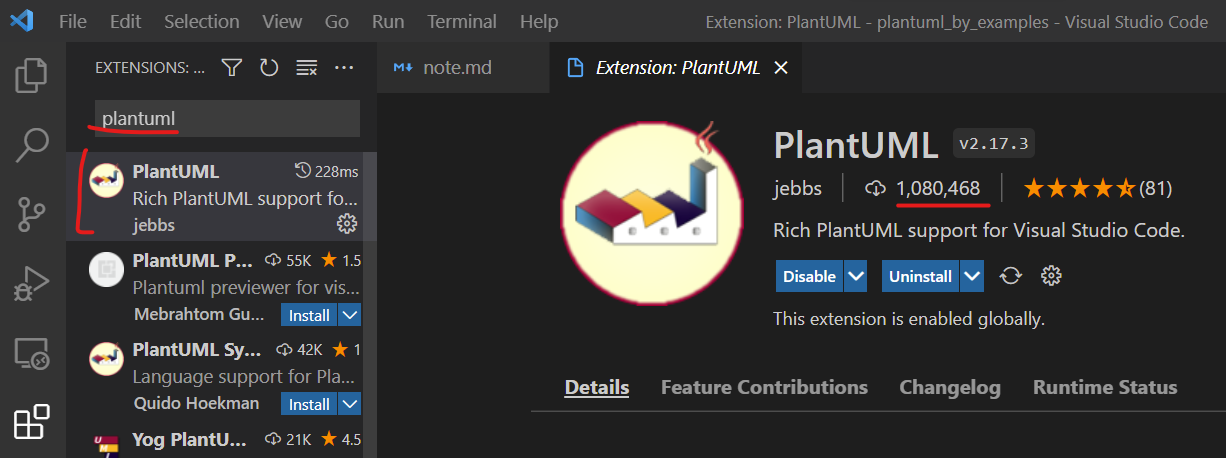
After installation, you can read the introduction of this extension to learn how to use it.
3. How to use the PlantUML syntax effectively
To see all available syntax and diagram types, please visit the official PlantUML site.
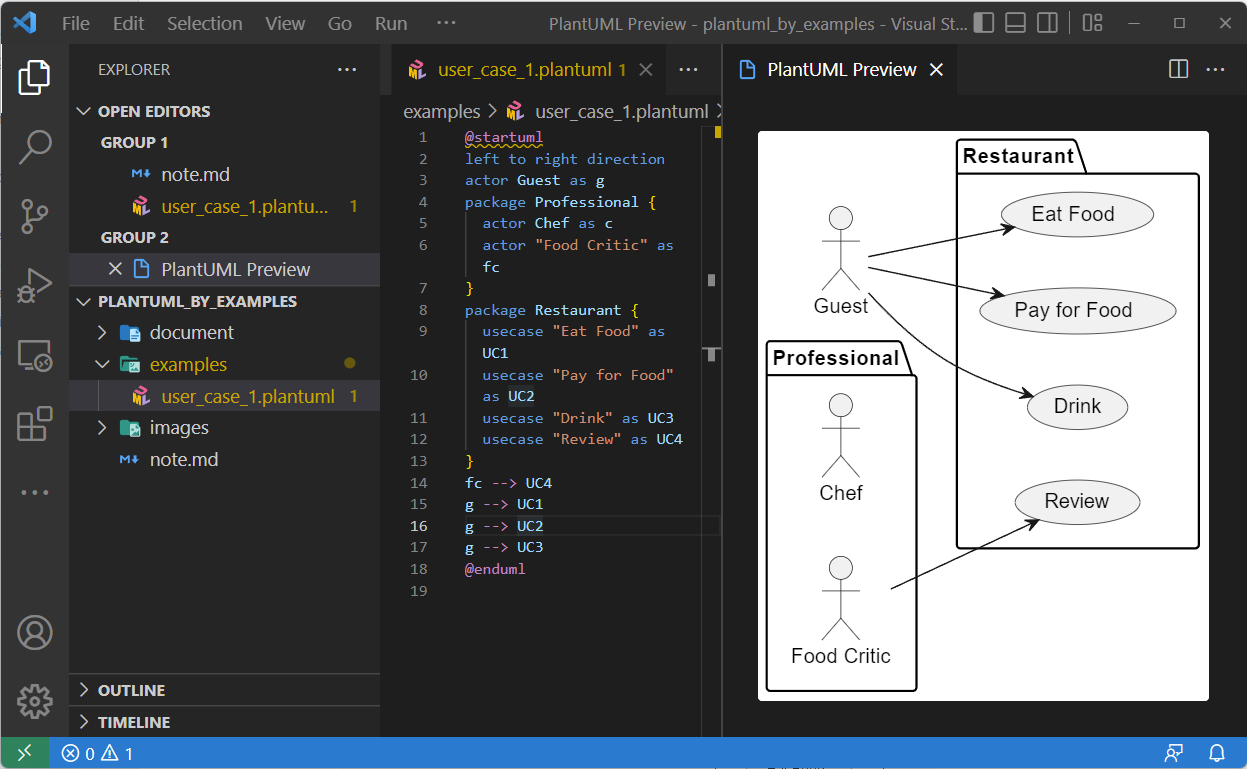
3.1. Use Case Diagram
In VS Code, type the syntax of the diagram you want to create, then hit Alt + D to see the generated image.
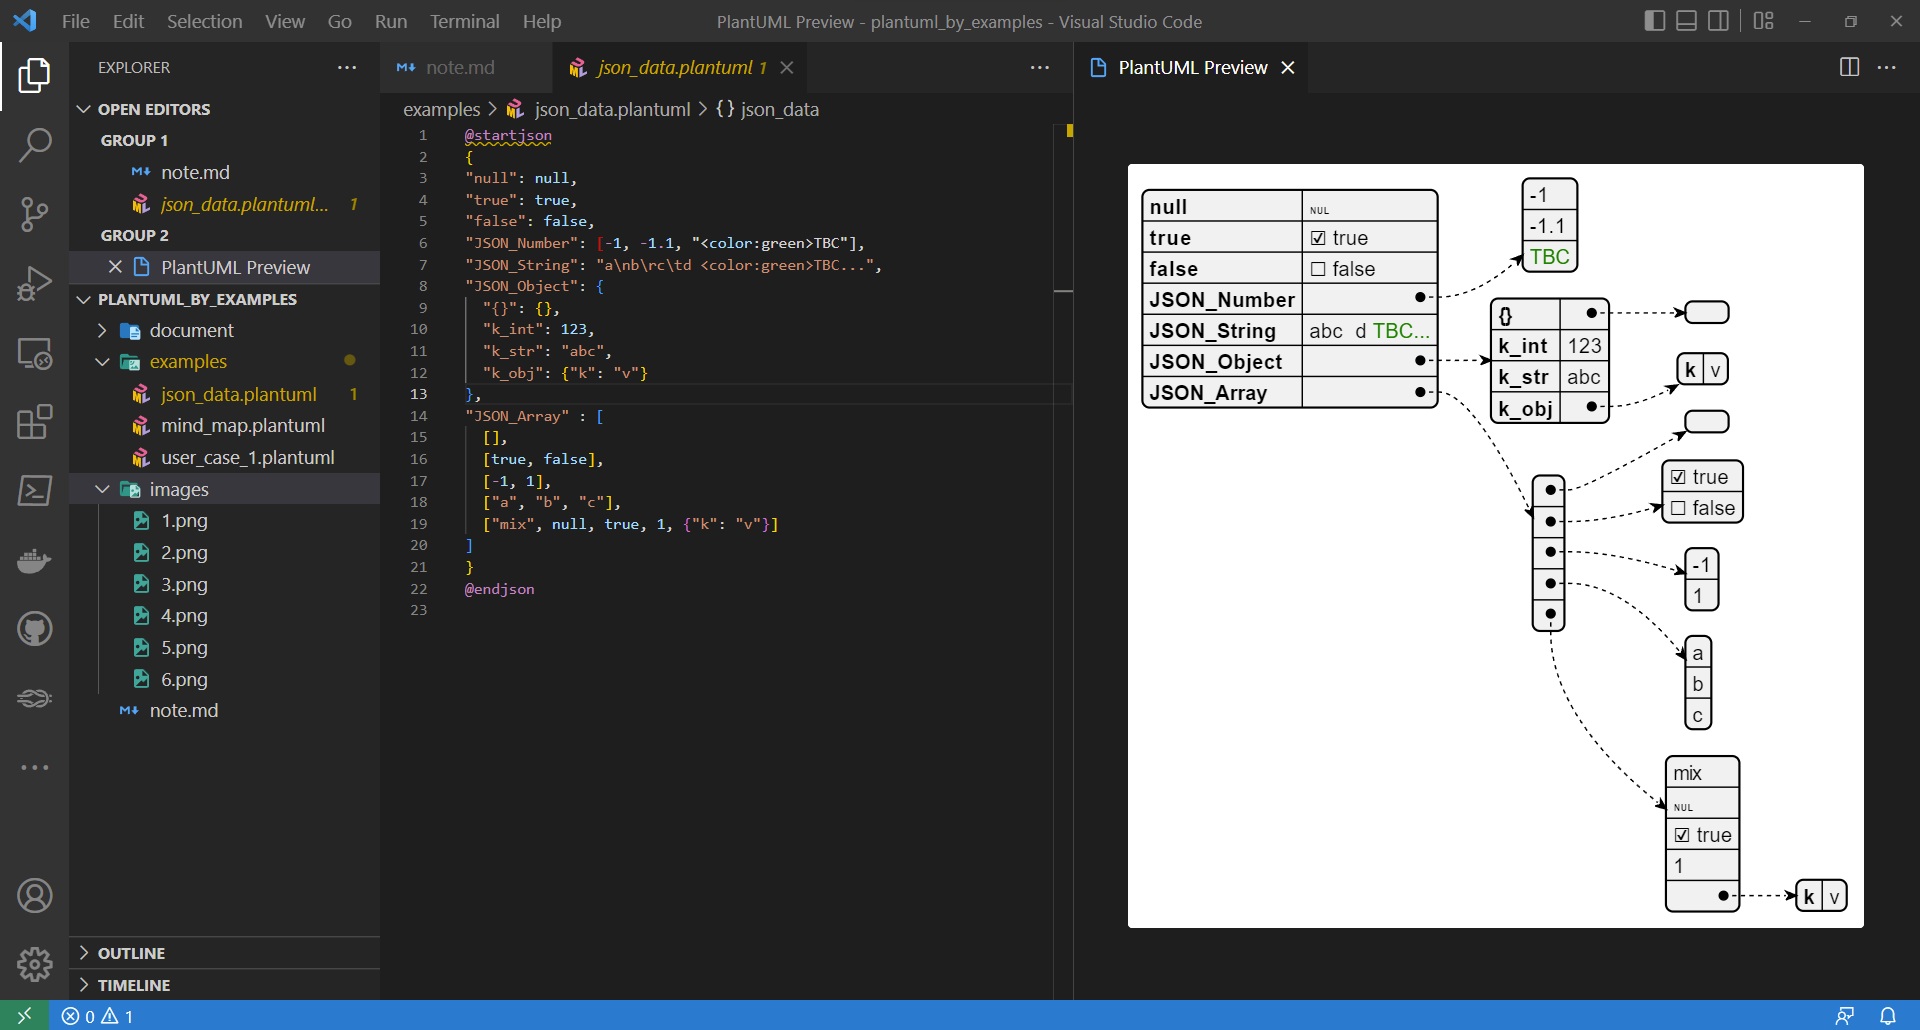
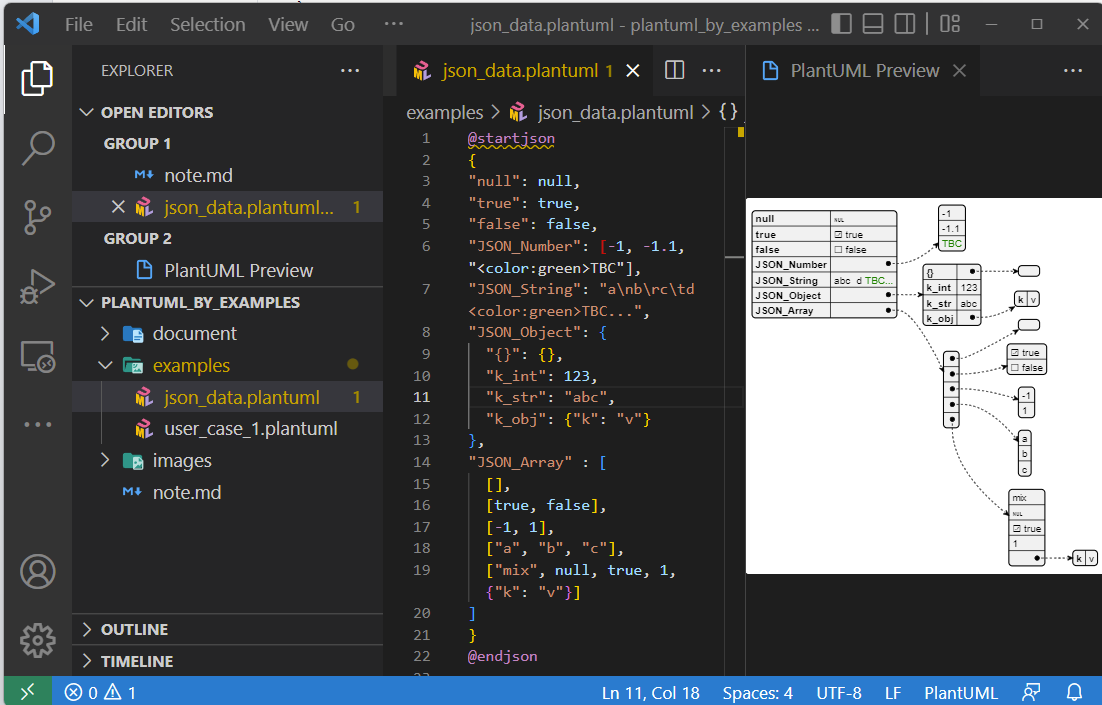
3.2. JSON Data Diagram
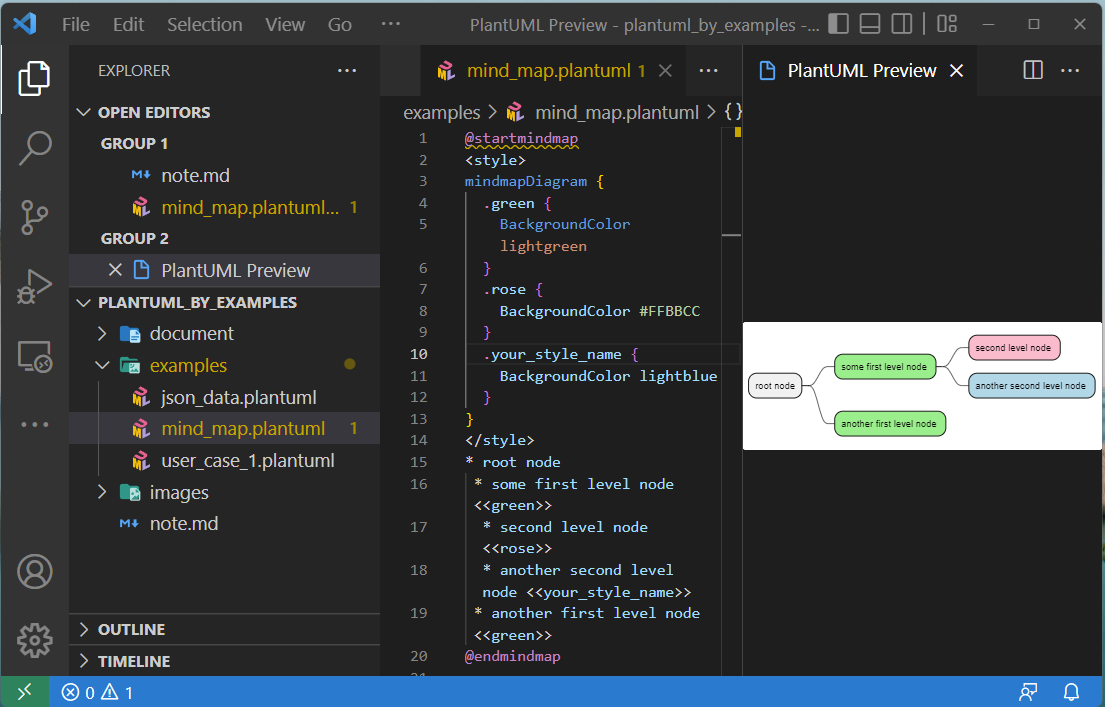
3.3. Mindmap Diagram